

Unlike Kahoot, Plickers does not have a gallery of questions for you to choose from. You have to make your own questions. This is the ONLY drawback. For my first try, I decided to ask my students some questions about bodies of water. I logged in to Stemscopes and copied questions from the post assessment. It was super easy to copy and paste right into Plickers. Here is a picture of my students using the Plickers cards. Pretty cute, right? Of course I HAD to ask them to cover their faces on purpose so that I could post the pic on Twitter (we're not allowed to post faces).
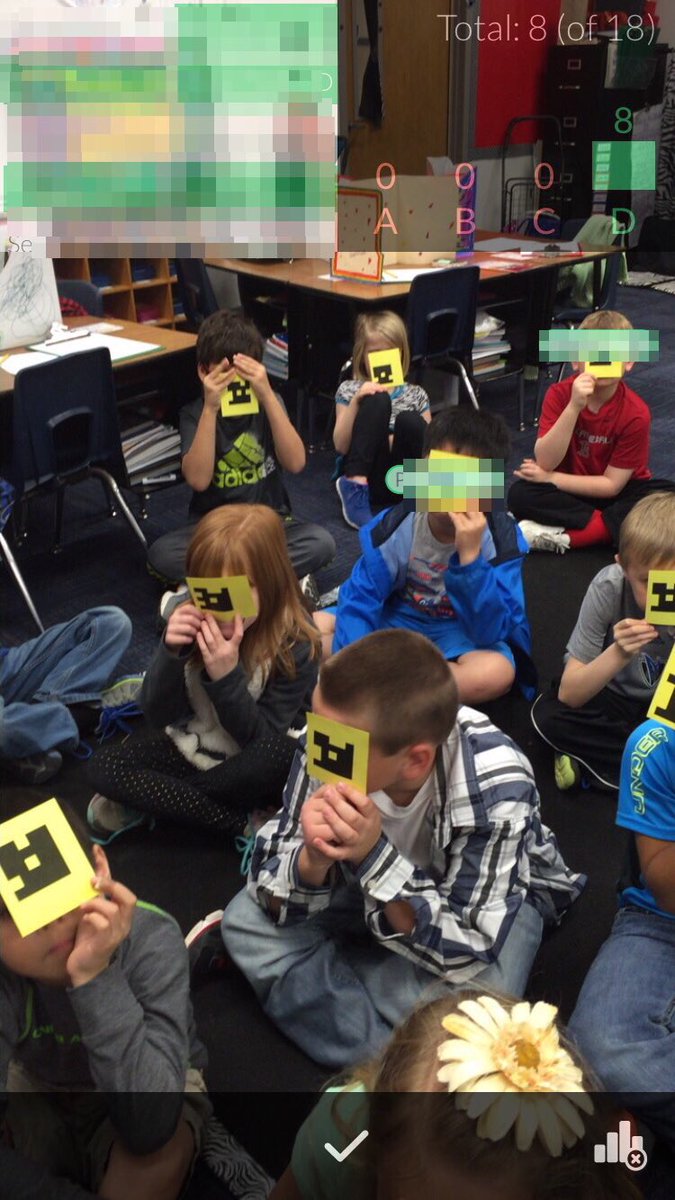
After trying this out last week, I had some definite "ah-ha" moments. First of all, the cards I printed were too small. I had to scan the room several times before I was able to get all 18 students' answers. Also, the kids' fingers were sometimes covering up the QR codes. I will definitely be printing the larger half-sheet ones for each child that I gave you a link to above. I also recommend NOT trimming the cards. Students need to be able to have room for the fingers to hold the cards without covering the QR code. Be sure to print them on white card stock because they do not scan well with colored card stock.
My students LOVED answering with Plickers. They can't wait to try it again. I also got some great feedback on concepts they KNEW and concepts they obviously did NOT know.
One other trick that I learned about today from Laura Candler, is that you can actually put in images as questions instead of typing questions and answers with text. For example, I was reading Laura Candler's blog today and she suggested using task cards on Plickers. Here is the link to her blog about Plickers: http://corkboardconnections.blogspot.com/2016/01/plickers-101-digital-exit-tickets.html
Before becoming a digital classroom teacher, I used scoots and task cards to get my kids moving around the room while assessing content mastery. Students would walk around with their recording sheets and clipboards, answering one task card at a time. Laura suggests taking a screenshot of one task card for each question.

Then you can crop the image to just show one question like this.

After that, you can put the image in Plickers and select the correct answer. Super easy! AND you don't have to type every question and every answer choice.

No comments:
Post a Comment